
I built a GIANT Pokeball for Humans !
What Happens Inside a Pokéball?
It’s a simple question — yet one that’s gone unanswered for over 20 years.
Searching online, I found several theories.

For example, in the Pokémon manga, Pokéballs are transparent, so we can see what’s inside. But honestly, it’s kind of sad to see those little creatures all cramped up.
Then I found that not long ago, the animated series explained that the interior is more like a cozy chamber where Pokémon can relax.

Finally, I stumbled upon this image on Reddit of a Pikachu chilling inside a Pokéball — and that’s when everything started to click in my head.

What if I built the same thing… but for humans? How hard could it be?
Has anyone done it before?
My first instinct was to check YouTube for tutorials or similar projects. I didn’t find a tutorial, but I did find the spark of inspiration that pushed me to start this journey: the Corridor Crew video showing the special effects of what the inside of a Pokéball could look like.
If you haven’t seen it, here’s the link.
3D Modeling
Let’s start with the 3D model. Designing a sphere isn’t complicated — that’s true. But before I began, I had so many questions:
How big should it be ? What material should I use ? Which fabrication method ? Should I make it by hand ? I decided to focus on the essentials first — the overall dimensions.
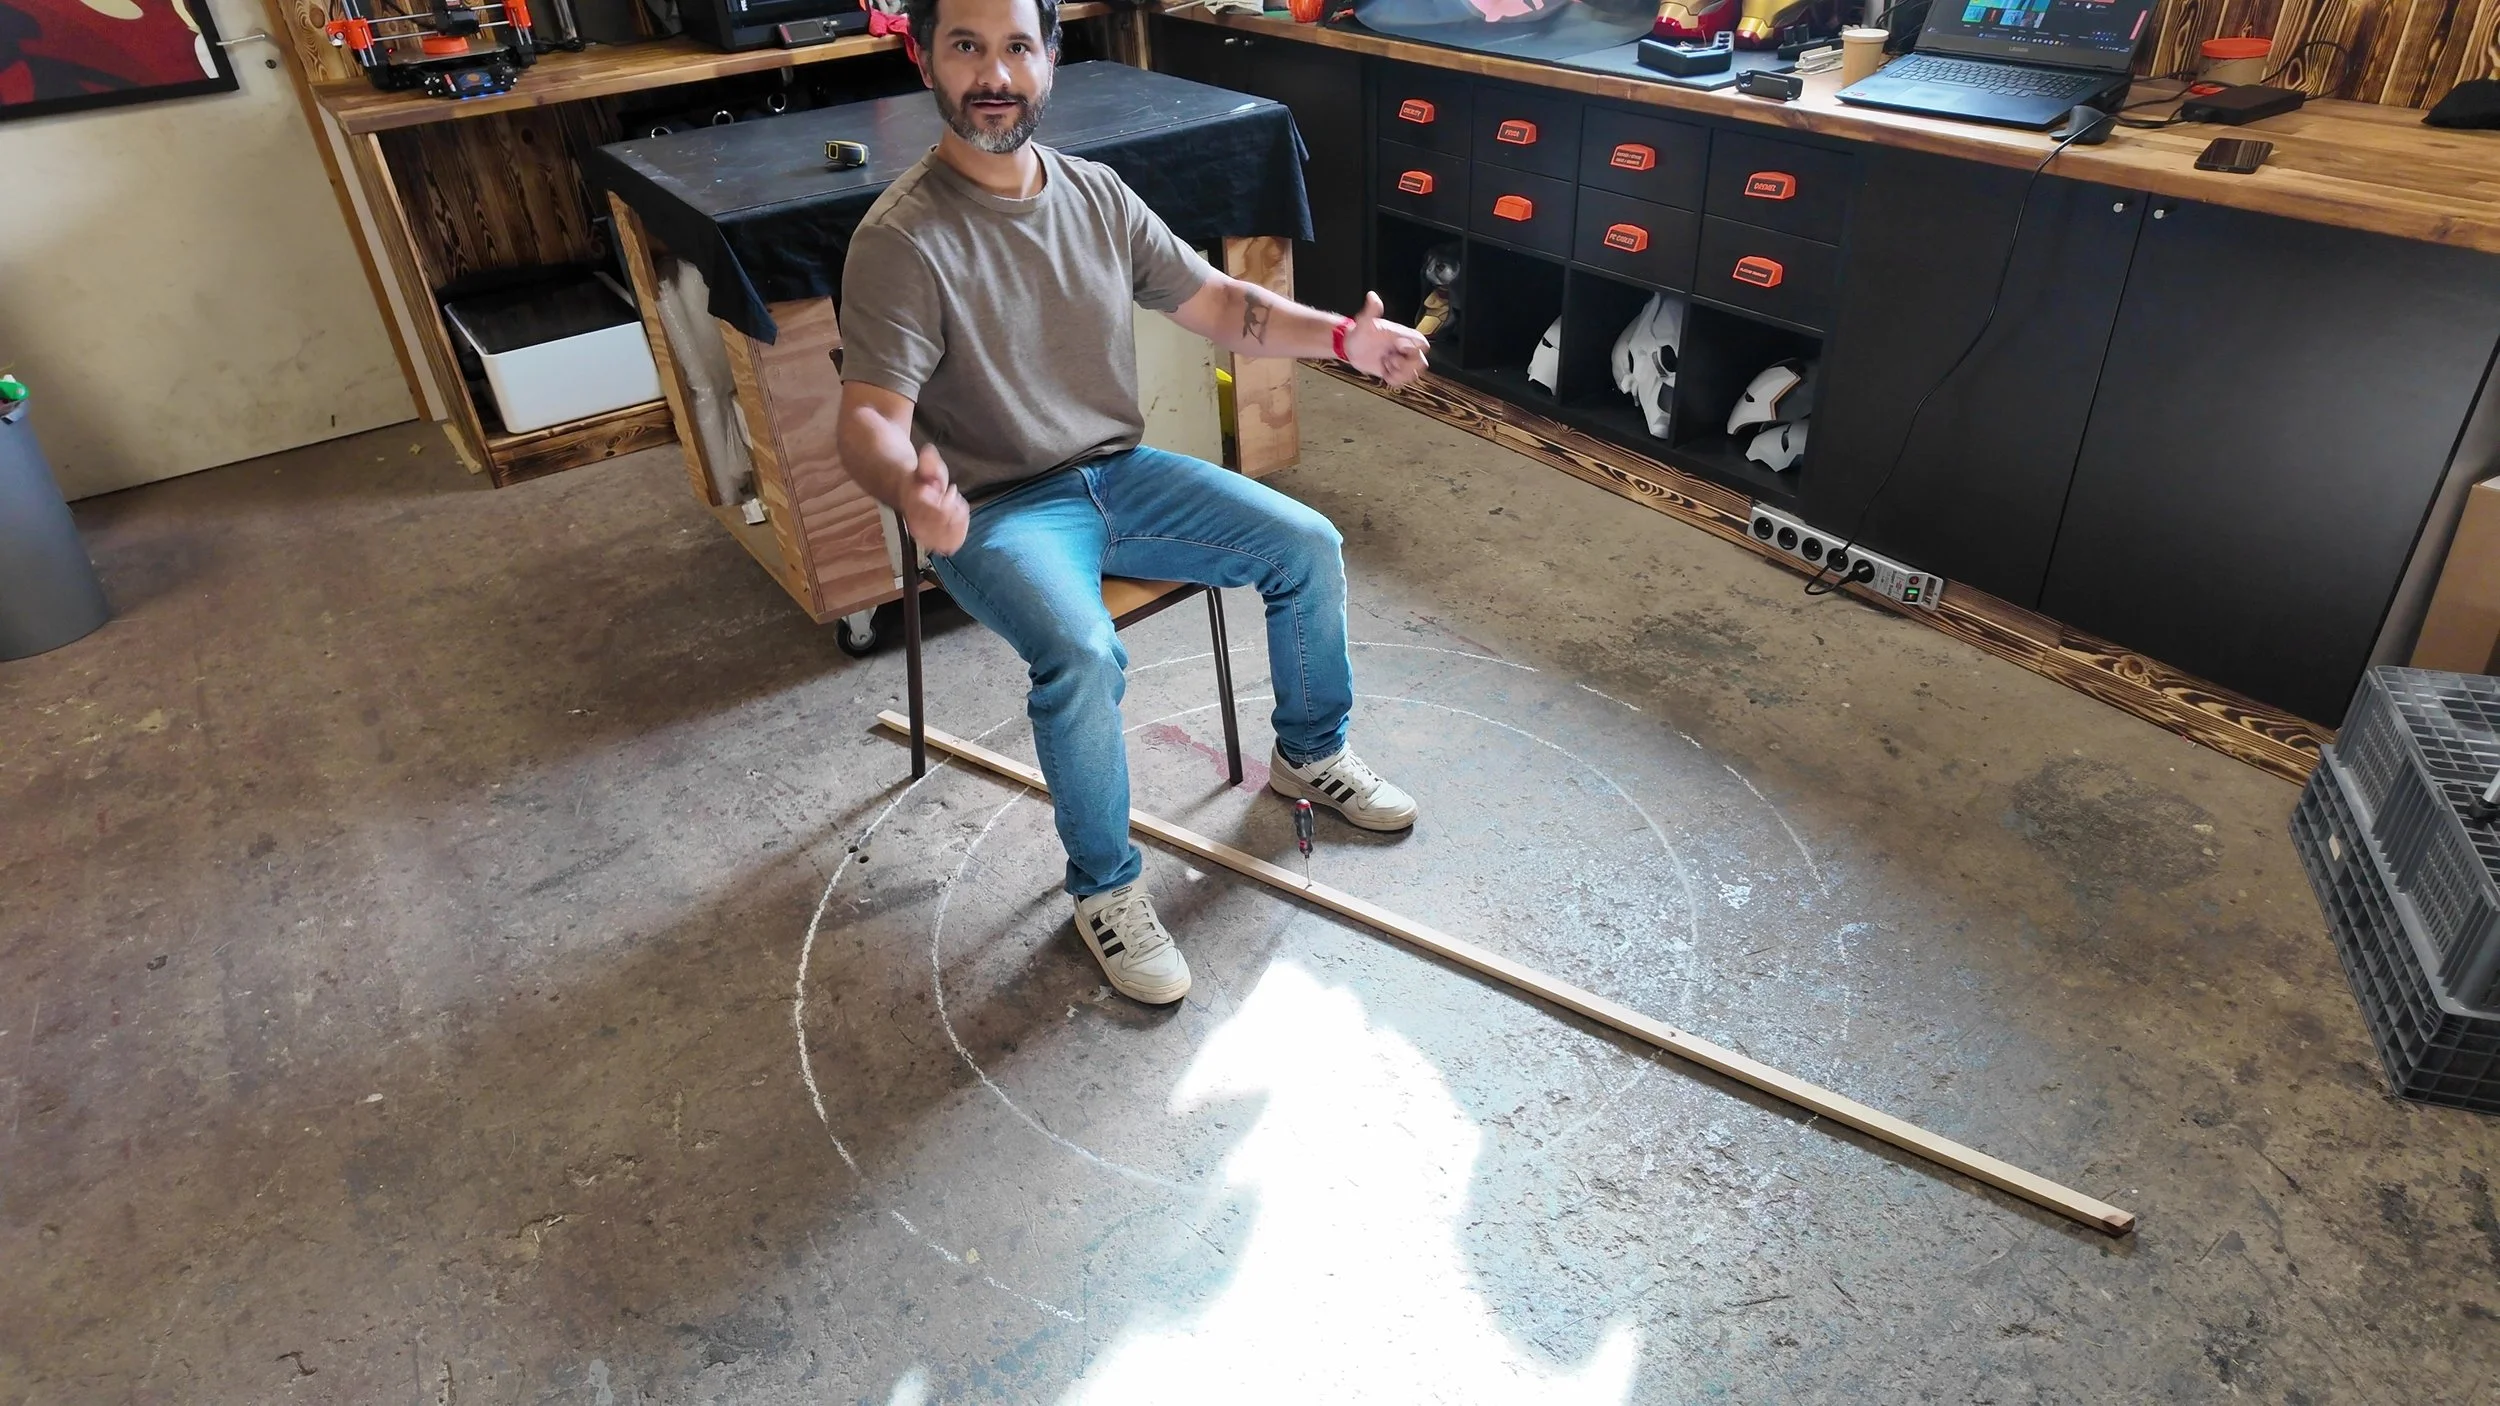
I took a piece of wood and improvised a compass to draw circles on the floor, just to visualize the inner space. The diameter would be 1.7 meters (around 5.6 ft).


With that, I realized the project wouldn’t be cheap. Oh! By the way, I’ll share the approximate costs throughout this article. And I also needed a strong structure.
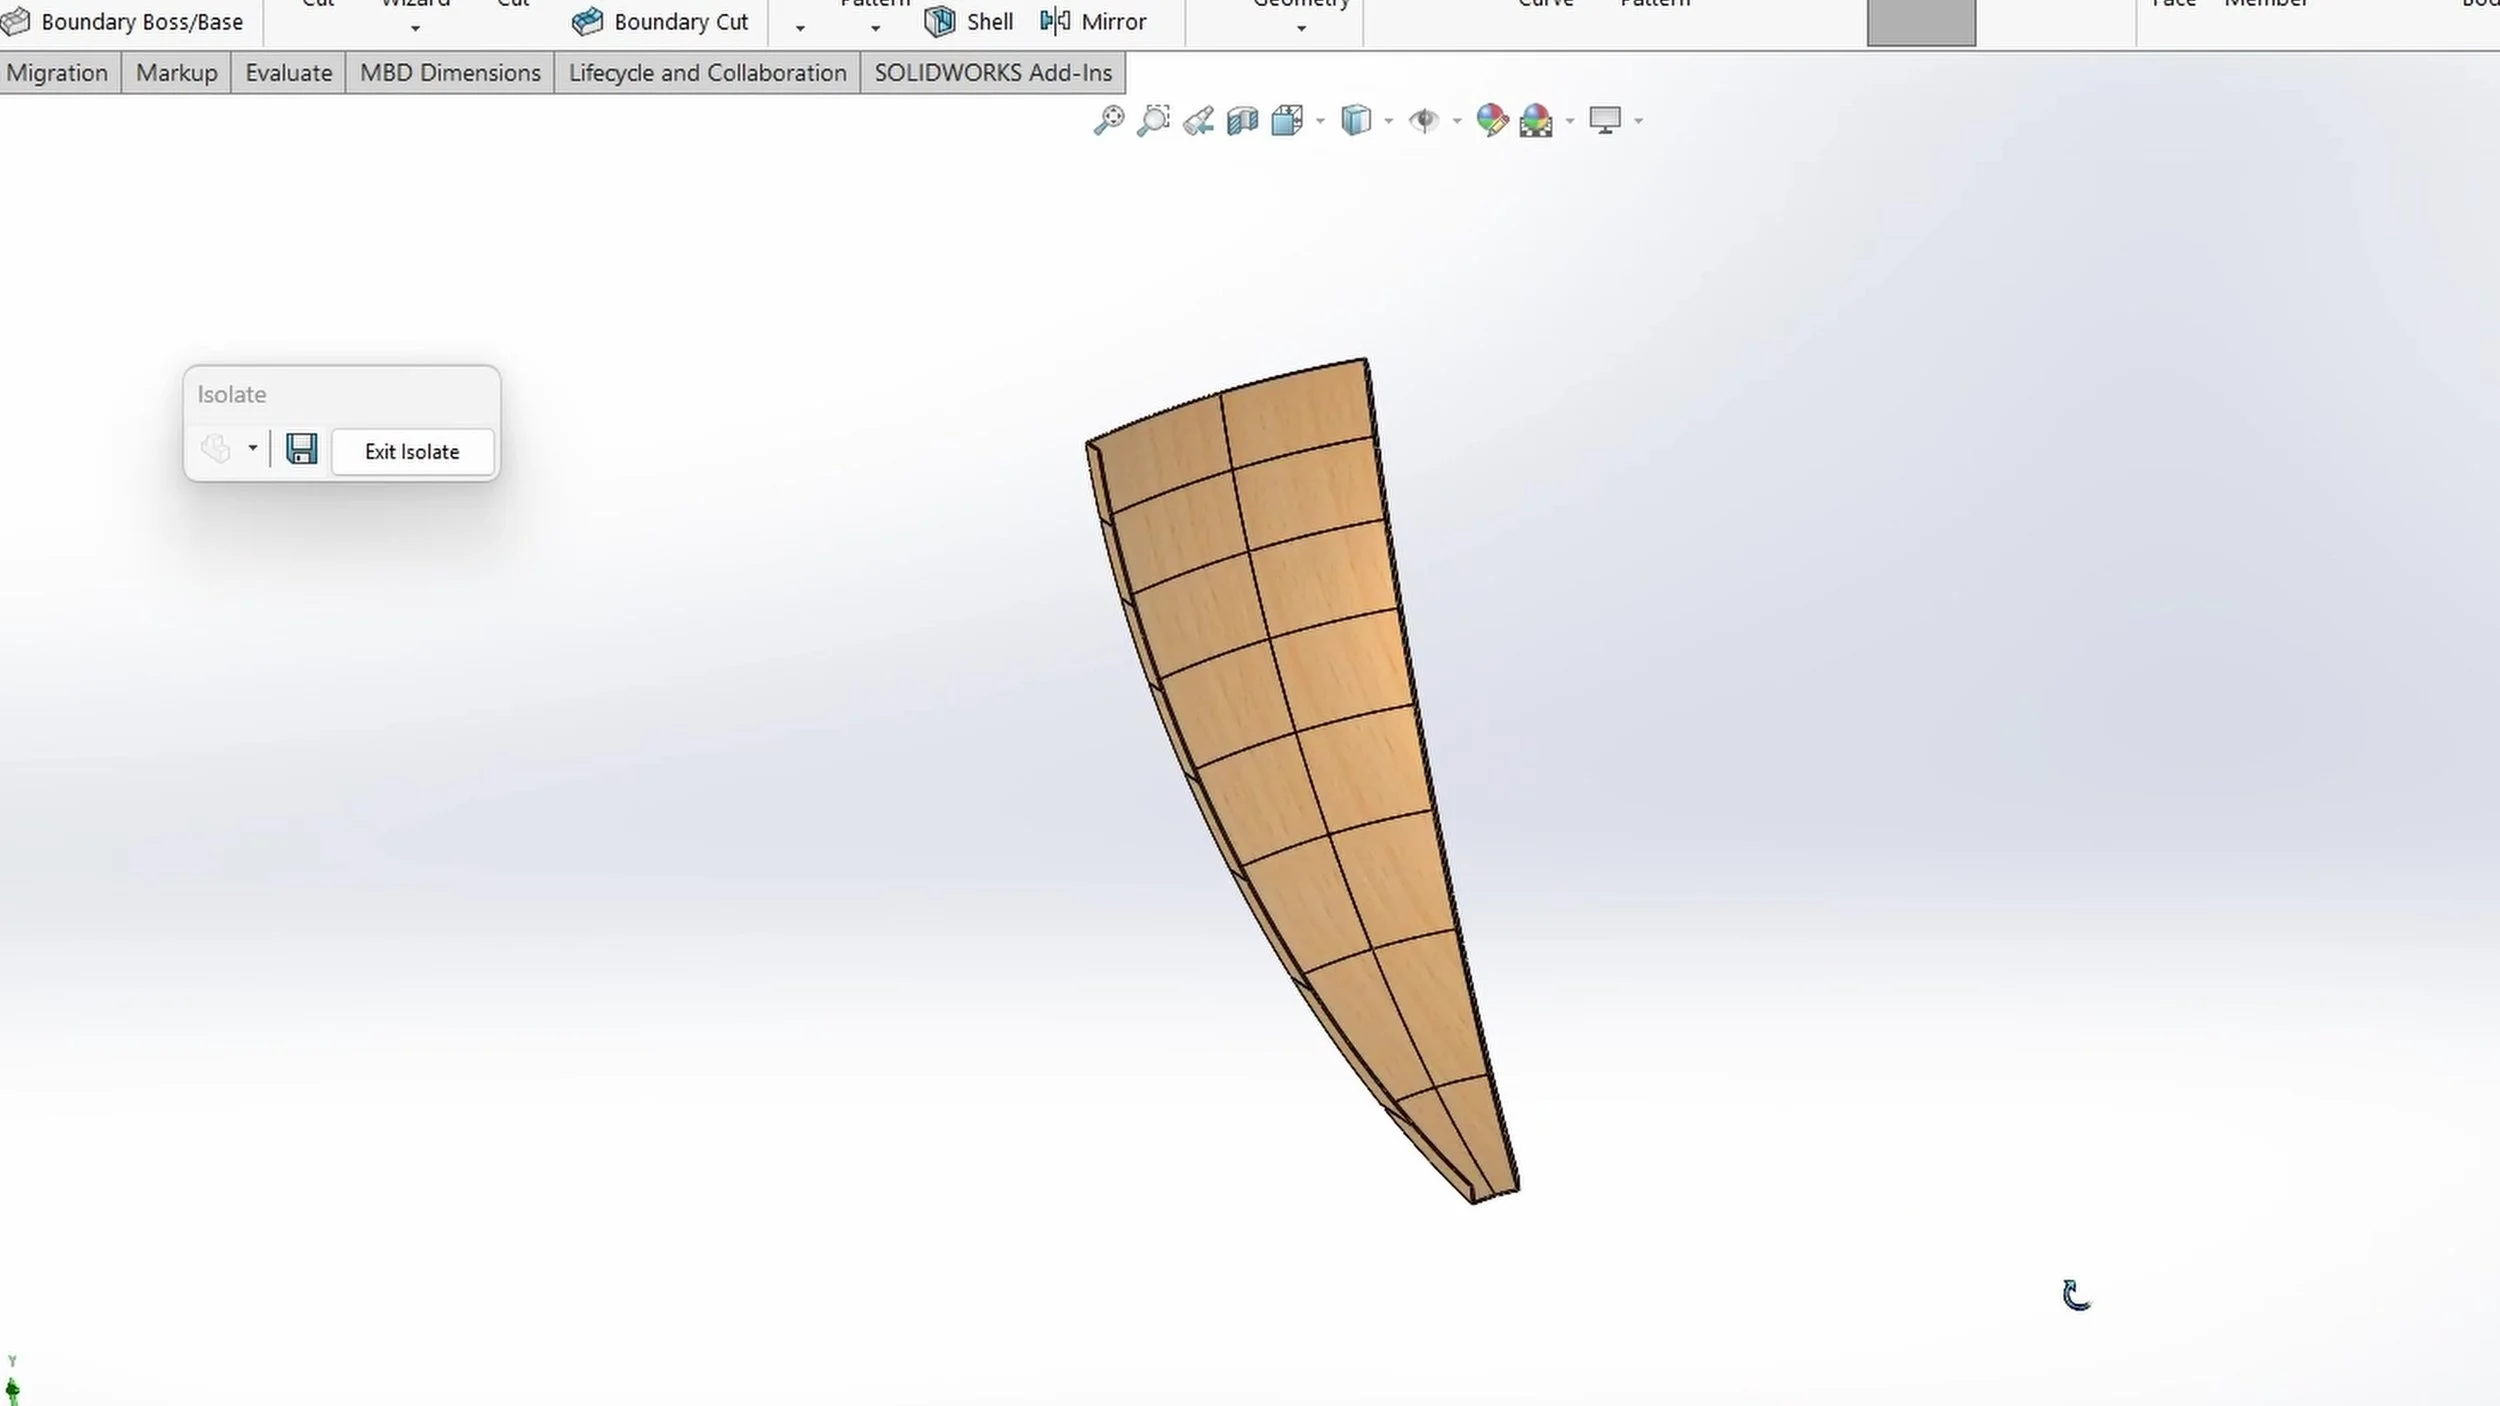
I chose plywood — affordable, sturdy, and easy to find. Then I began the 3D modeling, imagining how a curved piece (which I’ll call a “banana”) could be replicated around a central point to form a semi-spherical frame.


Once I had half the structure, I mirrored it to get something close to a full sphere. I added some top supports to reinforce the bananas and modeled a small door, since I’d need to get inside — maybe even with other people, in case I show it at a Maker Faire or a pop culture event.
We’ll pause the 3D model for now — I’ll talk about the interior later. Let’s move on to fabrication!
Pre-study
Before going for CNC cutting, I decided to cut the parts at scale with my laser cutter. This helped me realize a few things: wood is flexible, so I’d need intermediate supports, and thanks to my friends at 3DEMON (who provided an Ash Ketchum model), I saw that the center space was too small for a person’s feet. Small details, yes — but lots of them, and those can cost both time and money later.


Fabrication
Part 1 : CNC Cutting
Since I chose wood as my main material, I knew I’d need help — I don’t have a CNC cutter big enough for this project. So I called my friends at Exokit in Saint-Brieuc, France. They build van interiors, so when I told them about this idea, they thought I was joking. But they didn’t say no — and that’s how I ended up in their workshop to prepare the cuts.


In total, I used three plywood sheets of 3 × 1.8 meters (9.8 × 5.9 ft). Material + cutting cost: about €700.
Part 2 : Assembly
Seeing all the cut pieces really boosted my motivation — the idea was finally taking shape!
The assembly went just as I had imagined, thanks to the small-scale model I’d built beforehand. I used wood glue and stainless steel screws, plus some guides to keep the spacing consistent. Assembling everything took a few days. It was fun but also challenging — even with CNC cutting, small tolerances required some manual adjustments.


Part 3: The Big Challenge
Now we had a giant wooden ball. So… what next?
Covering it — and that turned out to be the toughest part. My first idea was to use 2mm MDF sheets, cut to follow the spherical shape.


At first glance, it looked great! But when I checked closely, I realized we weren’t getting a perfect sphere — it looked a bit too low-poly.
I tried adding supports, but MDF isn’t strong enough and broke easily. Honestly, it was like a cold shower…What now? I brainstormed like crazy: maybe fill it with expanding foam? Too expensive. Maybe use cheap filler material between the wooden walls — kind of like IKEA furniture?
That last one sounded reasonable, so I bought polystyrene insulation boards. I cut tons of them, but when I started installing, I hit another reality check: a sphere is not simple.

Démarquez-vous
Each piece had to be slightly smaller than the last, and since I was cutting by hand, the result wasn’t great. I had two options: spend endless hours cutting, or find a faster solution.

That’s when 3D printing came to the rescue! I modeled a 3mm-thick shell to preserve the sphere’s roundness — finally, a viable solution!
But wait — how many parts would I need? How long would it take? In total: 26 sections with 8 levels each, and since my printers had limited size, I had to split everything in two. My friends at Prusa sent me Buddy and Prusament filaments to keep going, and another friend suggested using 0.8mm nozzles for faster prints — we didn’t need high detail. That “hack” put all my printers into production mode! The best part? While printing, I could already start assembling.


Part 4: Covering the Sphere
Covering the sphere took about a week. I joined the 3D printed panels using hot staples and attached them to the wooden frame with 4mm screws. It was a bit tedious, since not all parts had the same tolerances — I was using multiple printers (MK4S, Core One, Prusa XL), and each one produces slightly different results.
But hey, I had to work with what I had!

